Why Crate Training Works
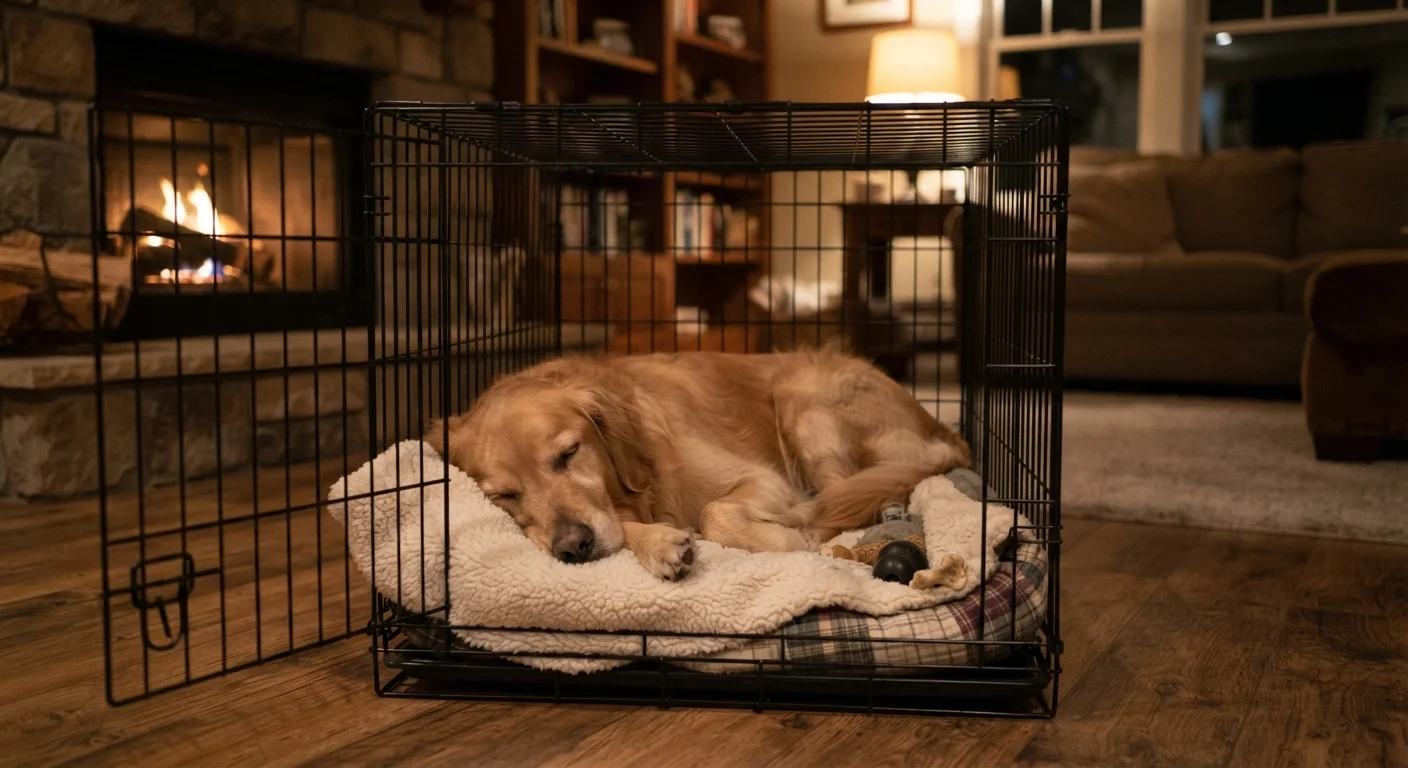
Dogs are den animals by nature. When introduced thoughtfully, a crate taps into that instinct — giving your dog a predictable, quiet retreat that belongs entirely to them. Used correctly, a crate can reduce anxiety, prevent destructive behavior when you're away, and support house training for puppies and newly adopted dogs alike.
The key distinction is association. A crate that a dog is pushed into or locked in as discipline will be perceived as a threat. A crate that is introduced with patience and rewards becomes a place your dog may choose on their own. This guide walks through that process step by step.
If you're new to dog ownership, our complete guide for new dog owners covers the broader setup, from puppy-proofing to vet visits. And if you've just brought a puppy home, this puppy-specific overview pairs well with the steps below.
What you will need
What You'll Need
Gathering the right materials before you start sets you up for a smoother process. Skimping on crate size or comfort items is one of the most common reasons early training stalls.
Dog Crate (wire or plastic)
Provides the enclosed space your dog will learn to associate with rest and safety — size should allow standing, turning, and lying down comfortably.
Crate Mat or Blanket
Makes the crate surface comfortable and signals to your dog that it's a resting space.
High-Value Treats
Used to reward your dog for approaching and entering the crate, building positive associations quickly.
Chew Toy or Kong-Style Toy
Gives your dog something to do inside the crate, helping them settle during longer confinement periods.
Crate Cover or Divider
A cover reduces visual stimulation for anxious dogs; a divider lets you resize the interior as a puppy grows.
Step-by-Step Crate Introduction
Work through each step at your dog's pace. Some dogs move through all stages in a few days; others need a week or more at a single step before they're ready to progress. That's completely normal. Rushing is the most common mistake owners make — and it's also the most avoidable. For more context on why force-based shortcuts tend to fail, see our article on why punishment-based training often backfires.
Choose and position the crate
Select a crate large enough for your dog to stand up, turn around, and lie down fully — but not so large that one end becomes a bathroom. Place it in a low-traffic area of a room where the family spends time, such as a living room corner. Avoid isolating the crate in a basement or laundry room during early training, as your dog's comfort depends partly on proximity to you.
Introduce the crate without any pressure
Leave the crate door open and allow your dog to investigate on their own terms. Toss a few treats just inside the entrance without coaxing or pushing your dog toward it. Let them approach, sniff, and back away as many times as they need. Repeat this several times over the first day. The goal is simple curiosity — nothing more.
Feed meals at and inside the crate
Begin placing your dog's regular meals near the crate entrance. Over successive meals, gradually move the bowl further inside until your dog is eating comfortably at the back of the crate. Continue leaving the door open. This step alone — repeated over several days — builds a strong positive association through routine.
Close the door briefly during meals
Once your dog enters the crate calmly to eat, gently close the door while they're eating. Open it again as soon as they finish — before any whining starts. Over subsequent meals, leave the door closed for a minute or two after they've eaten, gradually extending this time. Always open the door before your dog becomes distressed.
Practice short crating periods outside of mealtimes
With your dog showing comfort during meal-based crating, begin using the crate at other times. Cue your dog to enter using a consistent word (such as "crate" or "kennel"), reward them with a treat, and close the door. Sit nearby for the first few sessions — around 5 to 10 minutes — then begin leaving the room briefly before returning. Gradually build duration over multiple sessions across several days.
Build toward crating when you leave the house
Once your dog can rest quietly in the crate for 30 minutes or more with you home, you can begin crating during short absences. Keep departures and arrivals calm — no prolonged goodbyes or excited greetings that signal crating is unusual. Vary the length of your absences to prevent your dog from associating specific cues (putting on shoes, picking up keys) exclusively with long separations.
Keep Sessions Short and Positive
Training sessions for crate introduction should last no more than 5–10 minutes at a time. Dogs learn best when they finish a session having succeeded, not when they've been pushed to their limit. Multiple short sessions per day outperform a single long one.
Troubleshooting Common Problems
Even with a patient approach, you may hit a few snags. Here's how to handle the most frequently reported issues:
- Whining when the door closes: You've likely moved too fast. Go back to the previous step and rebuild comfort before closing the door again.
- Refusing to enter at all: Try feeding meals just outside, then at the threshold, then just inside — move the bowl incrementally over several sessions.
- Escaping or destructive behavior: Ensure the crate is the right size and that your dog is getting adequate exercise before crate time. A dog with unspent energy is a dog who struggles to settle.
- Anxiety when alone: Some dogs, particularly those with separation anxiety, need a behavioral intervention beyond crate training. Consult your veterinarian or a certified applied animal behaviorist if distress is severe or persistent.
Keep in mind that crate needs shift as your dog ages. Our overview of your dog's life stages explains how care priorities evolve from puppyhood through senior years — including how much crate time is appropriate at each stage.
Don't Use the Crate as a Time-Out
Sending your dog to the crate as a response to unwanted behavior — especially in a frustrated or angry tone — undermines all the positive work you've done. Your dog cannot distinguish 'time-out' from punishment, and the crate will quickly lose its safe-space quality. Reserve the crate exclusively for calm, rewarded experiences.