
Why Vacuum Suction Weakens — and Why It's Usually Fixable
Vacuum cleaners don't gradually wear out the way people assume. The motor and core mechanics in a well-built vacuum are typically designed to run for years without losing meaningful power. What actually weakens over time is airflow — and airflow is controlled by filters, bags, hoses, and seals, all of which collect debris or degrade in ways that are almost always reversible.
Think of your vacuum as a sealed air circuit: the motor pulls air in through the floor head, through filters, through the collection chamber, and exhausts it out the back. Any restriction or leak anywhere in that circuit reduces the suction you feel at the floor. Most cases of declining performance come down to one or more of these four causes:
- Full or nearly full dustbin/bag — restricts airflow through the collection chamber
- Clogged or saturated filters — blocks the air path before or after the motor
- Physical blockages — debris lodged in the hose, floor head, or attachment ports
- Air leaks — cracked seals or loose connections that bleed pressure from the circuit
Understanding which of these is active in your machine is a matter of systematic checking, not guesswork. If you're curious how this type of gradual degradation parallels other household devices, the pattern is similar to how computers slow down over time — incremental accumulation rather than sudden failure.
For a broader look at what separates a vacuum worth maintaining from one that isn't, see what makes a vacuum cleaner actually worth keeping.
Set a Simple Maintenance Schedule
Check filters and the dustbin or bag after every 3–5 uses, or monthly — whichever comes first. Households with pets or high-traffic areas may need to inspect more frequently. A quick check takes two minutes and prevents the gradual performance drop most users mistake for wear.
What You'll Need Before You Start
No specialized tools are required for this process. A few common household items and your vacuum's manual are enough to diagnose and fix most suction problems.
What you will need
Flathead screwdriver
Helps pry open filter compartments and remove brush roll end caps on many vacuum models.
Scissors or seam ripper
Cuts away hair and string tangled around the brush roll.
Soft-bristle brush or old toothbrush
Dislodges compacted dust from pleated HEPA filters without damaging the filter media.
Replacement filter
Required if your filter is torn, deformed, or has passed its recommended replacement interval.
Flashlight
Helps you spot blockages deep inside hoses and attachment ports.
Step-by-Step: How to Restore Your Vacuum's Suction
Always Unplug Before Inspecting
Before removing any part of your vacuum — filter, brush roll, or hose — unplug it from the wall. Reaching into a hose or touching a brush roll on a plugged-in vacuum can cause injury. This applies even when the power switch is off.
Unplug the vacuum and prepare your workspace
Before touching any internal component, disconnect the vacuum from power completely. Lay it on a hard, easy-to-clean surface. If you're working indoors, consider placing old newspaper or a drop cloth underneath — you'll likely dislodge a meaningful amount of accumulated dust.
Empty or replace the dustbin or bag
A full collection bag or dustbin is the single most common cause of suction loss. Bagged vacuums lose airflow well before the bag looks full — a bag that's around two-thirds full can already restrict performance noticeably. Empty bagless bins completely and rinse them with water if the manufacturer permits it. Replace bags rather than trying to empty and reuse them.
Remove, inspect, and clean the filters
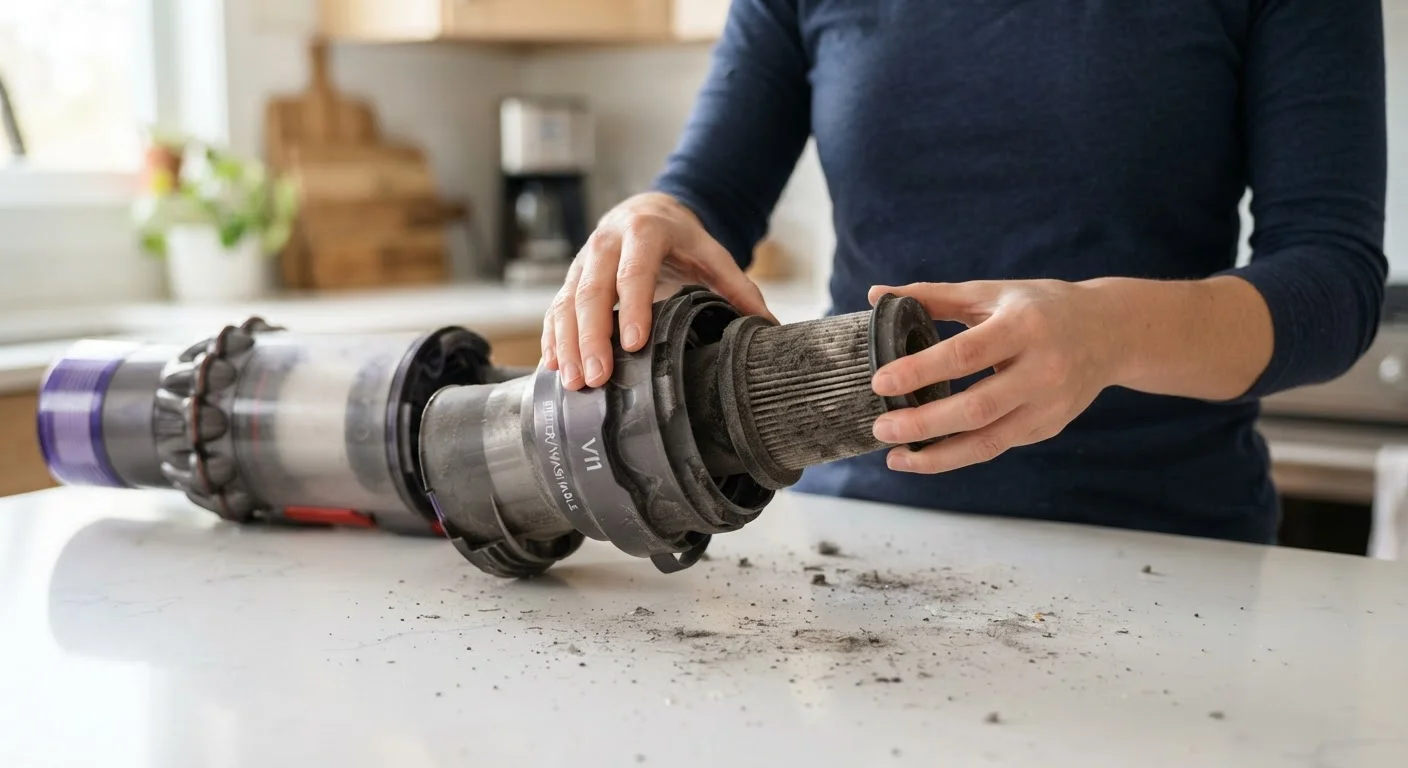
Most vacuums have at least two filters: a pre-motor filter that protects the motor from debris, and an exhaust or HEPA filter that cleans outgoing air. Remove each filter and tap it gently against the inside of a trash bin to dislodge loose dust. Use a soft-bristle brush on pleated filters to clean between folds. If a filter is visibly torn, permanently discolored, or deformed, replace it. Washable filters must dry completely — usually 24 hours — before being reinstalled. A damp filter significantly restricts airflow and can damage the motor.
Check the hose and attachments for blockages
Detach the hose from both the body of the vacuum and the floor head. Shine a flashlight through one end to look for obstructions. A common technique is to straighten the hose fully and feel along its length for any hardened lumps that indicate a lodged blockage. Use a broom handle or a straightened wire coat hanger — gently — to push any obstruction clear. Also inspect the port where the hose attaches to the vacuum body; blockages frequently accumulate at connection points.
Clear the brush roll of hair and debris
Flip the vacuum over and examine the brush roll (sometimes called the beater bar). Hair, thread, and carpet fibers wrap tightly around the roller over time and can reduce both rotation speed and airflow through the floor head. Use scissors or a seam ripper to cut through the accumulated material, then pull it away by hand. Spin the brush roll manually — it should rotate freely with minimal resistance. On many models, the brush roll can be removed entirely for a more thorough cleaning.
Inspect all seals and connection points
Air leaks are an underdiagnosed cause of suction loss. With the vacuum reassembled, run your hand along hose connections, the dustbin seal, and filter housing while the vacuum is running to feel for escaping air. Cracked or warped gaskets allow air to bypass the suction path entirely. Replacement gaskets are often available directly from manufacturers and are typically straightforward to swap out.
Reassemble and test suction
Reinstall all components — filters, dustbin, brush roll, and hose — and plug the vacuum back in. Test suction by holding your hand a few inches from the hose opening with attachments removed. Suction should feel consistently strong. Run it over a test area and compare performance to your pre-inspection baseline. If suction is restored, your maintenance is complete. If it remains weak after addressing all the above, the motor itself may be at fault — at that stage, a qualified appliance repair technician can assess whether repair is practical.
When Maintenance Isn't Enough
If you've worked through every step above and suction remains noticeably weak, the issue is likely mechanical rather than maintenance-related. Signs that point beyond DIY fixes include: a motor that sounds labored or high-pitched even with clear airflow, a burning smell during operation, or suction that drops off within seconds of starting. In those cases, a qualified appliance repair technician can determine whether the motor or fan assembly has failed and whether repair is cost-effective relative to replacement.
Before making any decisions, it's worth comparing your current model's design against alternatives. If your vacuum's layout makes maintenance difficult — for instance, filters that are hard to access or a hose that clogs frequently — a different style might serve your home better. Our overview of canister vs. upright vacuum designs breaks down how each handles different floor types and cleaning scenarios. And if floor care more broadly is a recurring challenge, why your mop isn't actually cleaning your floors covers similar diagnostic thinking for hard surface cleaning.
Don't Run a Clogged Vacuum
Continuing to vacuum with a full bag, blocked hose, or saturated filter forces the motor to work harder under restricted airflow. Over time, this can cause the motor to overheat. If suction is noticeably weak, stop and diagnose before continuing use.