Why First-Time Setup Matters More Than You Think
The decisions you make in the first hour of owning a new computer have an outsized effect on its long-term security, performance, and reliability. A machine configured carelessly at the start can accumulate vulnerabilities, cluttered software, and disorganized data that become progressively harder to untangle. If you're new to owning a PC, our first-timer's complete orientation to personal computers can help you understand key concepts before you dive in.
The good news: a methodical approach takes less than two hours and pays dividends for years. The steps below walk you through the process in a logical order — security first, customization later — so nothing critical gets skipped.
What you will need
Router and Wi-Fi credentials
Required to connect your computer to the internet during initial setup and updates.
External hard drive or USB drive
Used to create a local backup of your system and files from day one.
Password manager application
Stores and generates strong, unique passwords so you don't reuse credentials across accounts.
Step-by-Step: Setting Up Your New Computer
Work through each step in order. Skipping ahead — especially past the update and security steps — leaves gaps that are harder to close once you've started using the machine in earnest.
Connect to a secure network before anything else
Before you log in or create any accounts, make sure you're connected to a private, password-protected Wi-Fi network — never a public hotspot. Your new computer will begin communicating with servers the moment it's online, and a secure connection protects those early exchanges. If you haven't set up your home network yet, see our guide to setting up home Wi-Fi without a technician first.
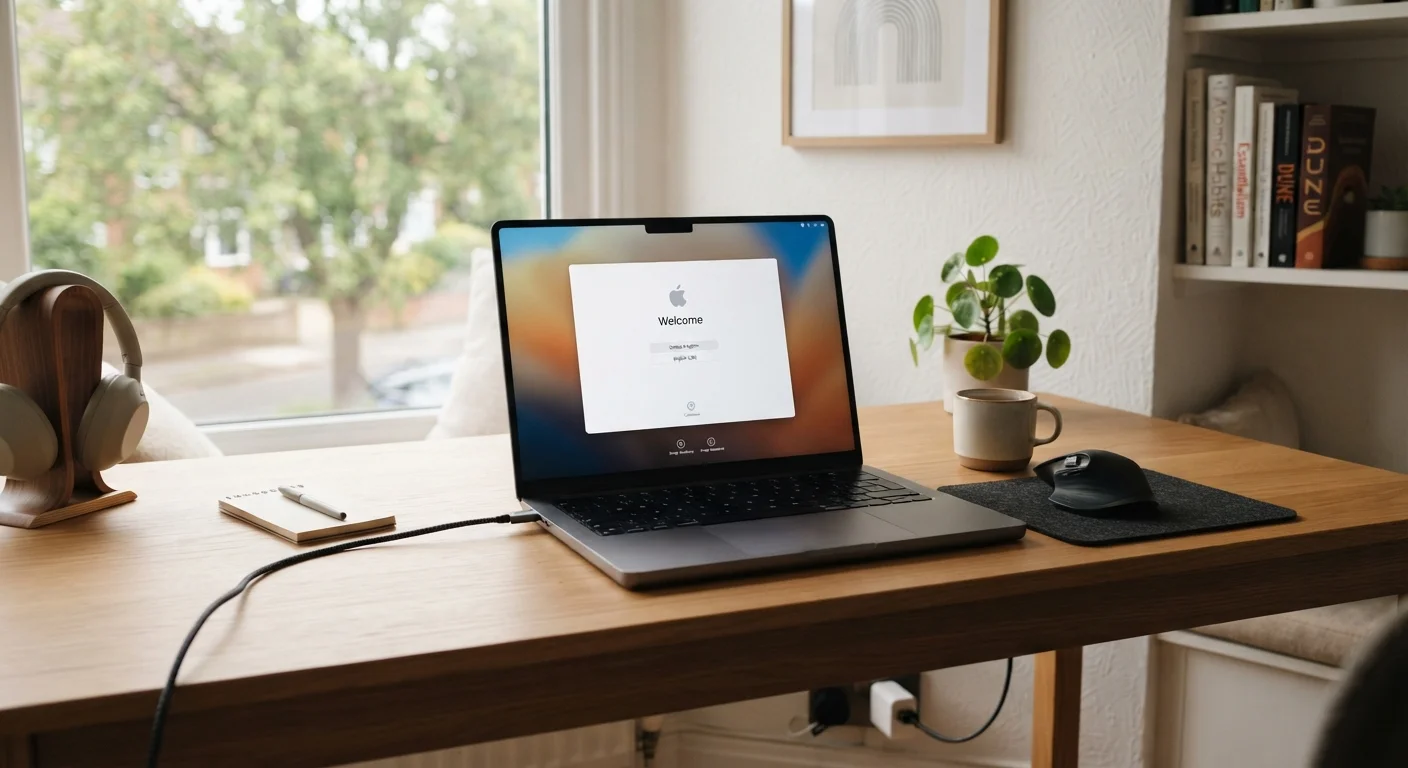
Complete the out-of-box setup and create your user account
Follow the on-screen prompts to set your language, region, and time zone. When you reach the account creation step, use a strong, unique password — at least 12 characters mixing letters, numbers, and symbols. On Windows, consider using a local account rather than a Microsoft account if you prefer to keep your data off third-party servers; on a Mac, an Apple ID is more deeply integrated but still optional for basic use.
Install all available system updates
Go directly to your operating system's update settings — Settings > Windows Update on Windows, or System Settings > General > Software Update on macOS — and install every available update. New computers often ship with software that's months old. Updates patch known security vulnerabilities before you bring any personal data onto the machine.
Enable two-factor authentication on your main account
Two-factor authentication (2FA) — also called two-step verification — requires a second proof of identity (such as a code sent to your phone) in addition to your password. Enable it on your operating system account and on any email or cloud accounts you link to the computer. This single step dramatically reduces the risk of unauthorized access even if your password is ever exposed.
Create a standard user account for daily use
The administrator account you created during setup has full control over the system — which makes it a high-value target. Create a second account with standard (limited) permissions and use that one for everyday tasks like browsing and email. Reserve the administrator account only for installing software or changing system settings. On Windows, go to Settings > Accounts > Family & other users; on macOS, visit System Settings > Users & Groups.
Set up automatic backups
Configure backups before you add any important files. Windows includes File History for external drives and OneDrive for cloud backup. macOS offers Time Machine for external drives and iCloud Drive for cloud storage. For critical documents, consider using both a local and a cloud backup — this is known as the 3-2-1 rule: three copies of your data, on two different media, with one stored offsite (such as in the cloud).
Install only the software you need
Resist the urge to install every application at once. Start with essentials — a browser, a password manager, and any productivity tools you use regularly. Download software only from official sources: the Microsoft Store, Mac App Store, or the developer's own verified website. Remove any pre-installed applications (sometimes called bloatware) that you don't intend to use, as these can consume resources and occasionally introduce security gaps.
Label Your Recovery Options Now
Most operating systems prompt you to set up recovery options — a recovery email, phone number, or security questions — during initial setup. Take these prompts seriously and complete them accurately. If you ever forget your password or get locked out, these recovery paths are often the only way back in without losing your data.
Never Skip System Updates on a New Device
It's tempting to jump straight into using your new computer, but an unpatched operating system is genuinely vulnerable — even fresh out of the box. Attackers actively exploit known security flaws that updates have already fixed. Completing all available updates before using your computer for banking, email, or shopping is one of the most impactful things you can do for your long-term security.
Built-in Antivirus Is a Starting Point, Not a Complete Solution
Windows Defender (built into Windows) and the security features in macOS provide solid baseline protection, but no software eliminates all risk. Safe browsing habits — avoiding suspicious links, not downloading files from unknown sources — remain your most effective defense. Regularly review what software is installed and remove anything unfamiliar.
After Setup: Habits That Keep Your Computer Running Well
Once the initial configuration is complete, a few ongoing habits will keep your computer secure and performing well over time. Enable automatic updates so security patches are applied without requiring manual action. Review your installed applications every few months and uninstall anything you no longer use. Keep your backup system active — check occasionally that backups are completing successfully rather than assuming everything is working silently in the background.
If you're still deciding between a laptop and a desktop, our comparison of laptops vs. desktops lays out the practical trade-offs clearly. And if your new computer will live on a home network you're still building out, our home Wi-Fi setup guide covers the networking side step by step.