What You Need Before You Start
Before touching any hardware, confirm that your internet service is active. Your Internet Service Provider (ISP) — the company billing you for internet access — must have provisioned your account. If you've just moved in or signed up recently, check that the service activation date has passed.
For a standard setup, you'll need a modem (which connects your home to the ISP's network) and a router (which distributes that connection wirelessly to your devices). Many ISPs supply a combined modem-router unit — sometimes called a gateway — which simplifies things. If yours are separate devices, you'll connect them with a short ethernet cable.
For a fuller explanation of how these components work together, see our guide to home network basics.
What you will need
Modem or Gateway Device
Translates the ISP's signal into a format your home network can use.
Wireless Router
Broadcasts the internet connection as a Wi-Fi signal throughout your home.
Ethernet Cable
Wired connection between the modem and router for a fast, stable link.
Smartphone or Laptop
Used to access the router's setup app or browser-based configuration interface.
Router Manufacturer's App
Many modern routers offer a guided setup app that simplifies configuration for non-technical users.
Step-by-Step Setup Instructions
Follow these steps in order. Each one builds on the last, so don't skip ahead — especially the security steps at the end.
Connect the Modem to Your ISP's Line
Plug your modem into the coaxial or phone line jack on the wall — whichever type your ISP uses. Then connect the modem's power adapter and turn it on. Wait two to three minutes for it to fully sync with your ISP's network. Most modems have indicator lights; a steady light on the "online" or "internet" indicator means it has connected successfully.
Connect the Router to the Modem
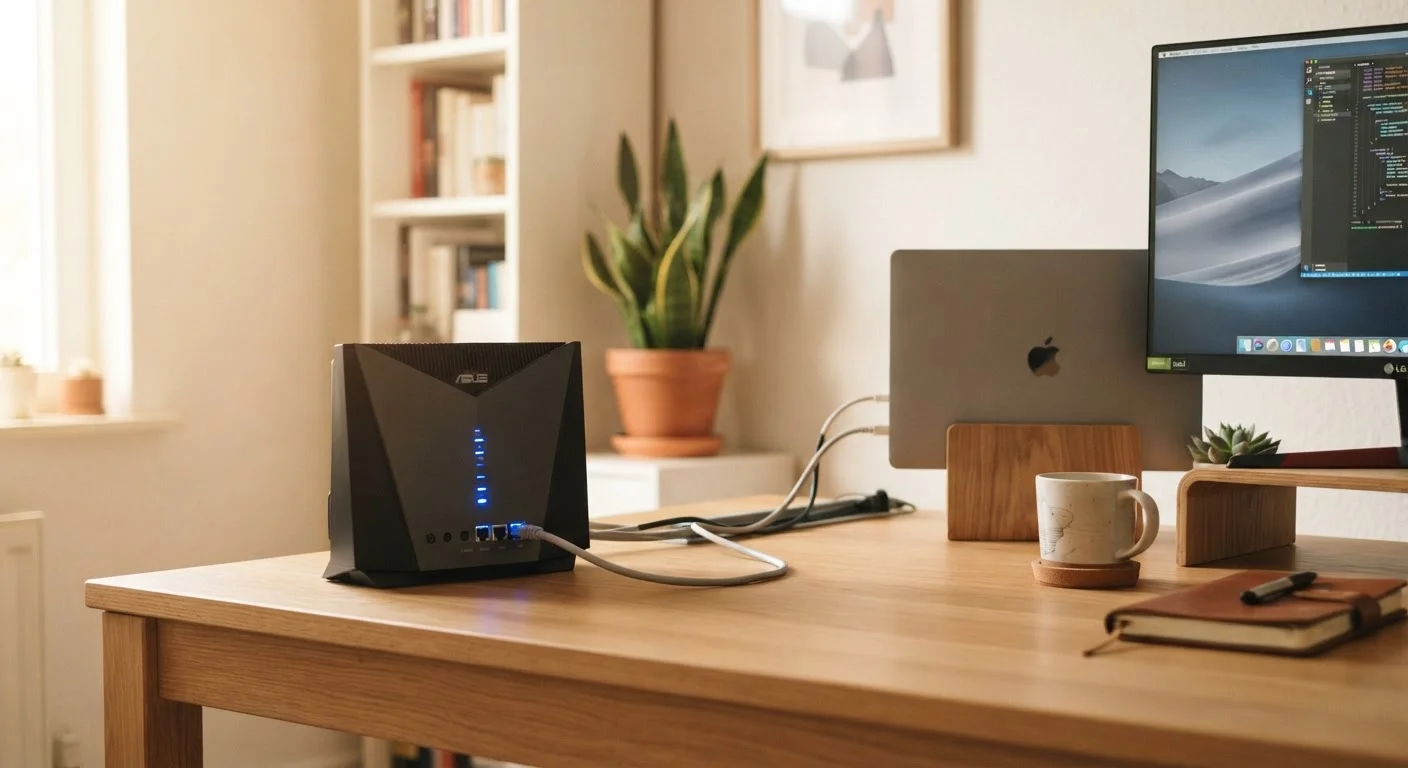
Using an ethernet cable, plug one end into the modem's LAN or output port and the other into the router's WAN or internet port (often colored differently from the other ports). Power on the router and wait about two minutes for it to initialize. If you have a combined modem-router unit, skip this step — you only have one device.
Place the Router for Best Coverage
Before finalizing where your router sits, consider coverage. A central location in the home — on a shelf or table, elevated off the floor — distributes the signal more evenly than a corner or closet. Keep it away from microwaves, cordless phones, and thick concrete or brick walls, all of which can interfere with Wi-Fi signals.
Run the Router's Setup Process
Most routers today offer two setup options: a smartphone app (download it from the App Store or Google Play using the router's brand name) or a browser-based interface. For the browser method, connect your device to the router's default Wi-Fi network (the name and temporary password are printed on the router's label), then open a browser and type the router's IP address — commonly 192.168.1.1 or 192.168.0.1 — into the address bar. Log in with the default credentials shown on the label.
Name Your Wi-Fi Network (SSID)
During setup, you'll be prompted to create a network name — called an SSID. Choose something recognizable but avoid using your full name, address, or any detail that identifies your household to neighbors. You can set different names for the 2.4 GHz and 5 GHz bands if your router supports both, or give them the same name and let devices choose automatically.
Set a Strong Wi-Fi Password and Enable Encryption
Create a unique password for your network — at least 12 characters mixing letters, numbers, and symbols is a reasonable baseline. In the security settings, select WPA3 if available, or WPA2 if not. Avoid older options like WEP or WPA, which have known security weaknesses. This password is what guests and devices will use to join your network.
Change the Router's Admin Password
This is separate from your Wi-Fi password. The admin password controls who can change router settings. Default admin credentials are publicly documented and easy for anyone on your network to misuse. Change it to something unique in the router's administration settings panel. Store it somewhere secure — a password manager or a written note kept safely at home.
Connect Your Devices and Test
On each device — phone, laptop, tablet, smart TV — open Wi-Fi settings, select your new network name, and enter the password you created. Once connected, open a browser or app to confirm internet access is working. If a device connects to Wi-Fi but can't reach the internet, restart the modem and router (power off, wait 30 seconds, power on the modem first, then the router).
Never Skip the Security Steps
An unsecured or default-password router can be accessed by anyone within range — including neighbors or passersby. This can allow unauthorized use of your internet connection and, more seriously, expose devices on your network. Completing steps 6 and 7 is not optional; they are the baseline for a safe home network.
Troubleshooting and Expanding Your Network
If devices connect to Wi-Fi but pages won't load, the most common culprits are a modem that hasn't fully synced yet (give it five more minutes), or an ISP outage — check your provider's status page or call their support line.
If some rooms get weak or no signal, router placement is usually the issue. Thick concrete walls, large appliances, and multi-story layouts all reduce range. Try moving the router to a more central, elevated location before buying new hardware.
Persistent dead zones may require a more structured solution. Our article on extending Wi-Fi coverage at home covers range extenders, mesh systems, and powerline adapters — each suited to different home layouts and budgets.
Keep Your Router Firmware Updated
Router manufacturers periodically release firmware updates — software that runs the device — to fix security vulnerabilities and improve performance. Check your router's admin panel or app every few months for available updates. Many newer routers can be set to update automatically, which is worth enabling if the option exists.
Once your network is stable, you may want to connect smart home devices. Our guide to setting up a smart home for the first time is a good next step, and our computer setup guide can help you get a new PC or laptop connected on solid footing.