Why Planning Before You Drill Saves Time and Walls
Mounting a TV feels like a straightforward weekend project — until you discover a stud exactly where you didn't want it, realise your power outlet is three feet from your ideal mounting spot, or end up with a screen so high your neck aches after every movie. A little room-by-room planning eliminates most of these frustrations before a single hole is made.
This checklist walks through every decision point: wall construction, viewing geometry, cable management, and safety. Whether you're setting up a living room, bedroom, or a smaller space like a kitchen nook, the questions you need to answer are largely the same — but the answers change depending on the room. For a deeper look at the physical wall checks involved, see our pre-mounting wall safety checklist.
Stud finder
Locates wooden or metal studs behind drywall so you can anchor the mount securely.
Voltage/wire detector
Identifies electrical wiring or pipes hidden inside walls before you drill.
Drill and appropriate drill bits
Creates pilot holes for mount screws — bit type depends on your wall material (wood, masonry, etc.).
Spirit level (or level app)
Ensures the mounted bracket and TV hang perfectly horizontal.
Tape measure
Used to calculate viewing height, stud spacing, and cable run distances.
Painter's tape
Marks stud centres and bracket placement on the wall without leaving residue.
Cable raceway kit
Channels cables neatly along the wall surface if in-wall routing is not feasible.
Second person (helper)
Holding the TV steady while you attach it to the mount is a two-person task for most screen sizes.
The Full Room-by-Room Mounting Checklist
Work through each group below before purchasing a mount or picking up a drill. Items marked must are non-negotiable for a safe, functional installation. Should items are strongly recommended to avoid common regrets. Nice-to-have items improve the finished result but can be revisited later.
Wall & Structural Assessment
Viewing Height & Angle
Power & Cable Planning
Lighting & Glare
Safety & Final Verification
Never Route Power Cables Inside Walls Yourself
Running low-voltage HDMI or ethernet cables inside walls is generally a DIY-friendly task with the right in-wall-rated cables. However, extending or relocating electrical outlets inside a wall must be done by a licensed electrician in most US jurisdictions. Using an in-wall power kit that connects to an existing outlet is an option some installers use, but local electrical codes vary — check with a qualified professional before proceeding.
Once your TV is securely mounted and level, your next consideration is what plugs into it. Our plain-English guide to TV inputs and outputs explains every port on a modern TV so you can plan cable runs with confidence.
Room-Specific Considerations to Keep in Mind
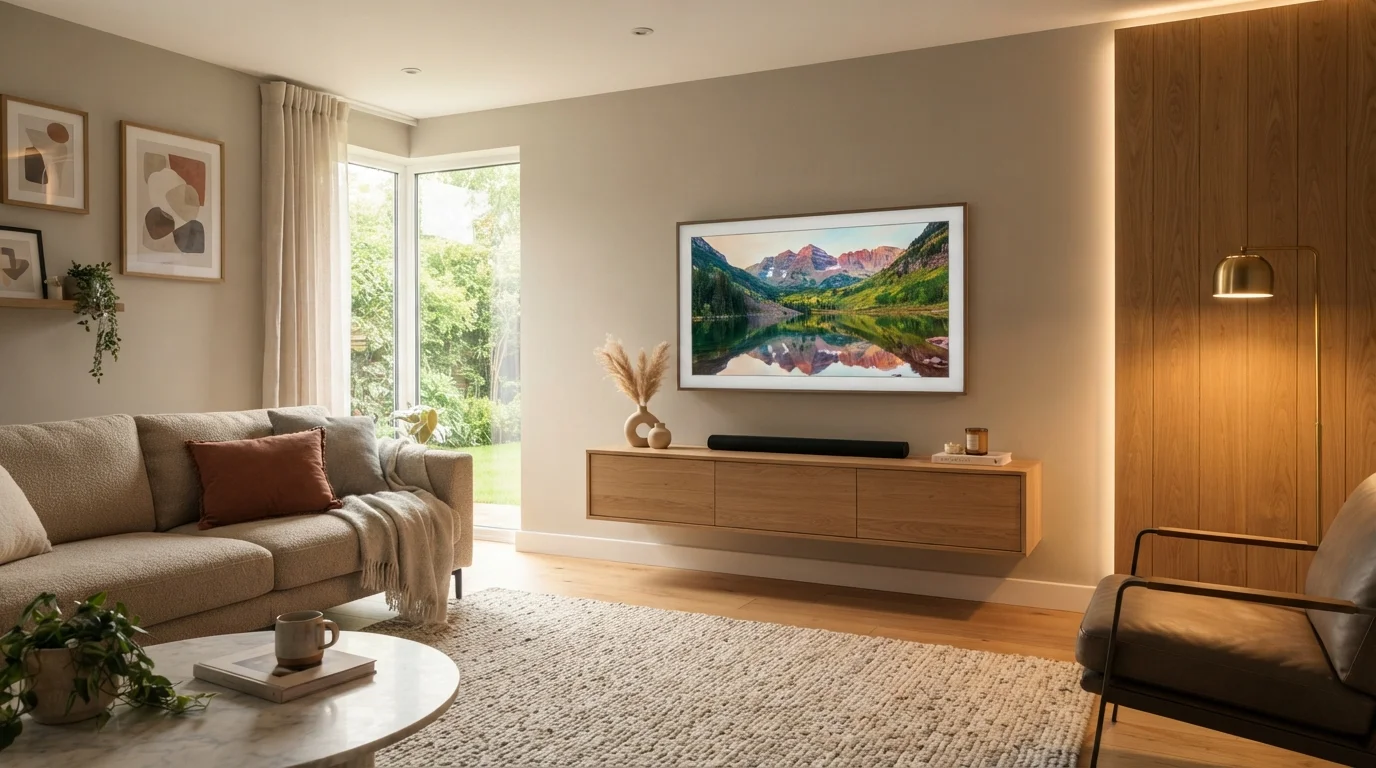
Living room: This is typically the most demanding room because seating distances are longer and multiple viewers sit at different angles. A tilting or full-motion mount gives you flexibility that a fixed bracket cannot.
Bedroom: Viewing height is different here — you're often lying down or semi-reclined, which means mounting slightly higher than you would in a living room can actually be appropriate. Glare from bedside lamps is a common and overlooked problem.
Kitchen or small nook: Distances are short, TVs are typically smaller, and the primary concern is keeping cables away from moisture and heat sources. A swivel mount is often more useful than a fixed one in these tighter spaces.
If you're setting up multiple rooms at once — perhaps after a move — our room-by-room first-home essentials guide can help you prioritise which spaces to tackle first.
Concrete and Masonry Walls Need Special Hardware
Standard wood-stud mounting hardware will not hold in concrete, brick, or cinder block walls. These surfaces require masonry drill bits, concrete anchors or sleeve anchors rated for the TV's weight, and often a hammer drill. If you are unsure about the load capacity of masonry anchors in your specific wall, consult a professional installer before mounting — a TV falling from the wall is a serious safety hazard.